
React logging is the practice of recording relevant information about your application's behavior during runtime.
Unlike traditional server-side logging, React logging happens in the browser and focuses on frontend concerns: component lifecycle events, state changes, user interactions, performance metrics, and network requests. Effective logging creates breadcrumbs that help you understand application flow and quickly pinpoint problems.
Debugging React applications can be challenging, especially as they grow in complexity. Implementing a solid logging strategy helps identify issues faster and provides valuable insights into your application's behavior during development and in production.
This guide covers practical approaches to React logging, starting with basic techniques and progressing to more advanced solutions that can significantly improve your debugging workflow and application monitoring.
Basic Console Logging Methods in React
When you're first jumping into React logging, the simplest place to start is with what's already available: the console API.
// Don't just console.log everything
console.log("User clicked the button");

// Use different methods for different purposes
console.info("Component mounted successfully");
console.warn("Prop is deprecated and will be removed in next version");
console.error("API call failed:", error);
The console offers more than just console.log(). Each method serves a specific purpose and makes your logs easier to filter when things get messy.
But let's be real – this approach only takes you so far. Once your app grows beyond a simple todo list, you'll need something more robust.
Build a Configurable Custom Logging Utility for React Applications
Building a custom logger gives you consistency and control. Here's a simple implementation to get you started:
// src/utils/logger.js
const LOG_LEVELS = {
  DEBUG: 0,
  INFO: 1,
  WARN: 2,
  ERROR: 3,
};

// Set this based on your environment
const CURRENT_LOG_LEVEL = process.env.NODE_ENV === 'production'
  ? LOG_LEVELS.ERROR
  : LOG_LEVELS.DEBUG;

class Logger {
  static debug(message, ...args) {
    if (CURRENT_LOG_LEVEL <= LOG_LEVELS.DEBUG) {
      console.debug(`[DEBUG] ${message}`, ...args);
    }
  }

  static info(message, ...args) {
    if (CURRENT_LOG_LEVEL <= LOG_LEVELS.INFO) {
      console.info(`[INFO] ${message}`, ...args);
    }
  }

  static warn(message, ...args) {
    if (CURRENT_LOG_LEVEL <= LOG_LEVELS.WARN) {
      console.warn(`[WARN] ${message}`, ...args);
    }
  }

  static error(message, ...args) {
    if (CURRENT_LOG_LEVEL <= LOG_LEVELS.ERROR) {
      console.error(`[ERROR] ${message}`, ...args);
    }
  }
}

export default Logger;
Using it in your components becomes straightforward:
import Logger from '../utils/logger';

function UserProfile({ userId }) {
  useEffect(() => {
    Logger.debug('UserProfile mounted', { userId });

    fetchUserData(userId)
      .then(data => {
        Logger.info('User data retrieved successfully');
        setUserData(data);
      })
      .catch(error => {
        Logger.error('Failed to fetch user data', { userId, error });
      });

    return () => {
      Logger.debug('UserProfile unmounted', { userId });
    };
  }, [userId]);

  // Component code...
}
The beauty of this approach? You can easily:
- Filter logs by severity
- Add context to every log message
- Control what gets logged in different environments
- Format logs consistently
Monitor React Component Lifecycle Events and Render Frequency
One of React's quirks is understanding when and why components re-render. Let's add some logging to track this:
function useLogRenders(componentName) {
  const renderCount = useRef(0);

  useEffect(() => {
    renderCount.current += 1;
    Logger.debug(`${componentName} rendered`, {
      count: renderCount.current,
      props: this.props,
      state: this.state
    });
  });
}

// Usage in a component
function ExpensiveComponent(props) {
  useLogRenders('ExpensiveComponent');

  // Component code...
}
This simple hook can help you identify components that render too often – a common source of performance issues.
Integrate Error Boundaries with Structured Logging for Robust Error Handling
Error boundaries are React's way of catching JavaScript errors in components. Pairing them with good logging creates a safety net for your app:
class ErrorBoundary extends React.Component {
  constructor(props) {
    super(props);
    this.state = { hasError: false };
  }

  static getDerivedStateFromError(error) {
    return { hasError: true };
  }

  componentDidCatch(error, info) {
    Logger.error('React error boundary caught error', {
      error,
      componentStack: info.componentStack,
    });

    // You could also send this to your error tracking service
    // errorTrackingService.captureException(error, { extra: info });
  }

  render() {
    if (this.state.hasError) {
      return <h1>Something went wrong.</h1>;
    }

    return this.props.children;
  }
}
Wrap key sections of your app with these boundaries to prevent one component crash from bringing down the entire app.
Enhance Log Messages with Contextual Data for Effective Troubleshooting
Raw log messages rarely tell the full story. Adding context makes debugging much easier:
// Bad logging
Logger.error('Payment failed');

// Good logging
Logger.error('Payment processing failed', {
  userId: '123',
  amount: 99.99,
  currency: 'USD',
  errorCode: 'INSUFFICIENT_FUNDS',
  timestamp: new Date().toISOString(),
});
The second example gives you everything you need to understand and fix the issue without having to guess what happened.
Leverage Specialized Logging Libraries for Advanced React Application Monitoring
While custom loggers work for smaller projects, dedicated logging libraries offer more features with less work:
Winston + React Integration
// src/utils/logger.js
import winston from 'winston';

const logger = winston.createLogger({
  level: process.env.NODE_ENV === 'production' ? 'error' : 'debug',
  format: winston.format.combine(
    winston.format.timestamp(),
    winston.format.json()
  ),
  transports: [
    new winston.transports.Console(),
    // Add more transports as needed (files, HTTP, etc.)
  ],
});

// Create browser-friendly methods
export default {
  debug: (...args) => logger.debug(...args),
  info: (...args) => logger.info(...args),
  warn: (...args) => logger.warn(...args),
  error: (...args) => logger.error(...args),
};
Debug
The debug package offers a lightweight alternative with namespace support:
import debug from 'debug';

// Create namespaced loggers
const logRender = debug('app:render');
const logAPI = debug('app:api');
const logRouter = debug('app:router');

function App() {
  useEffect(() => {
    logRender('App component rendered');
    // ...
  }, []);

  // ...
}
Enable specific namespaces in the browser by setting localStorage.debug:
// Enable all app logs
localStorage.debug = 'app:*';

// Only enable API logs
localStorage.debug = 'app:api';
Integrate React Application Logs with Full-Stack Observability Platforms
In complex applications, tying front-end logs to your observability setup helps you connect the dots faster — across services, systems, and user actions.
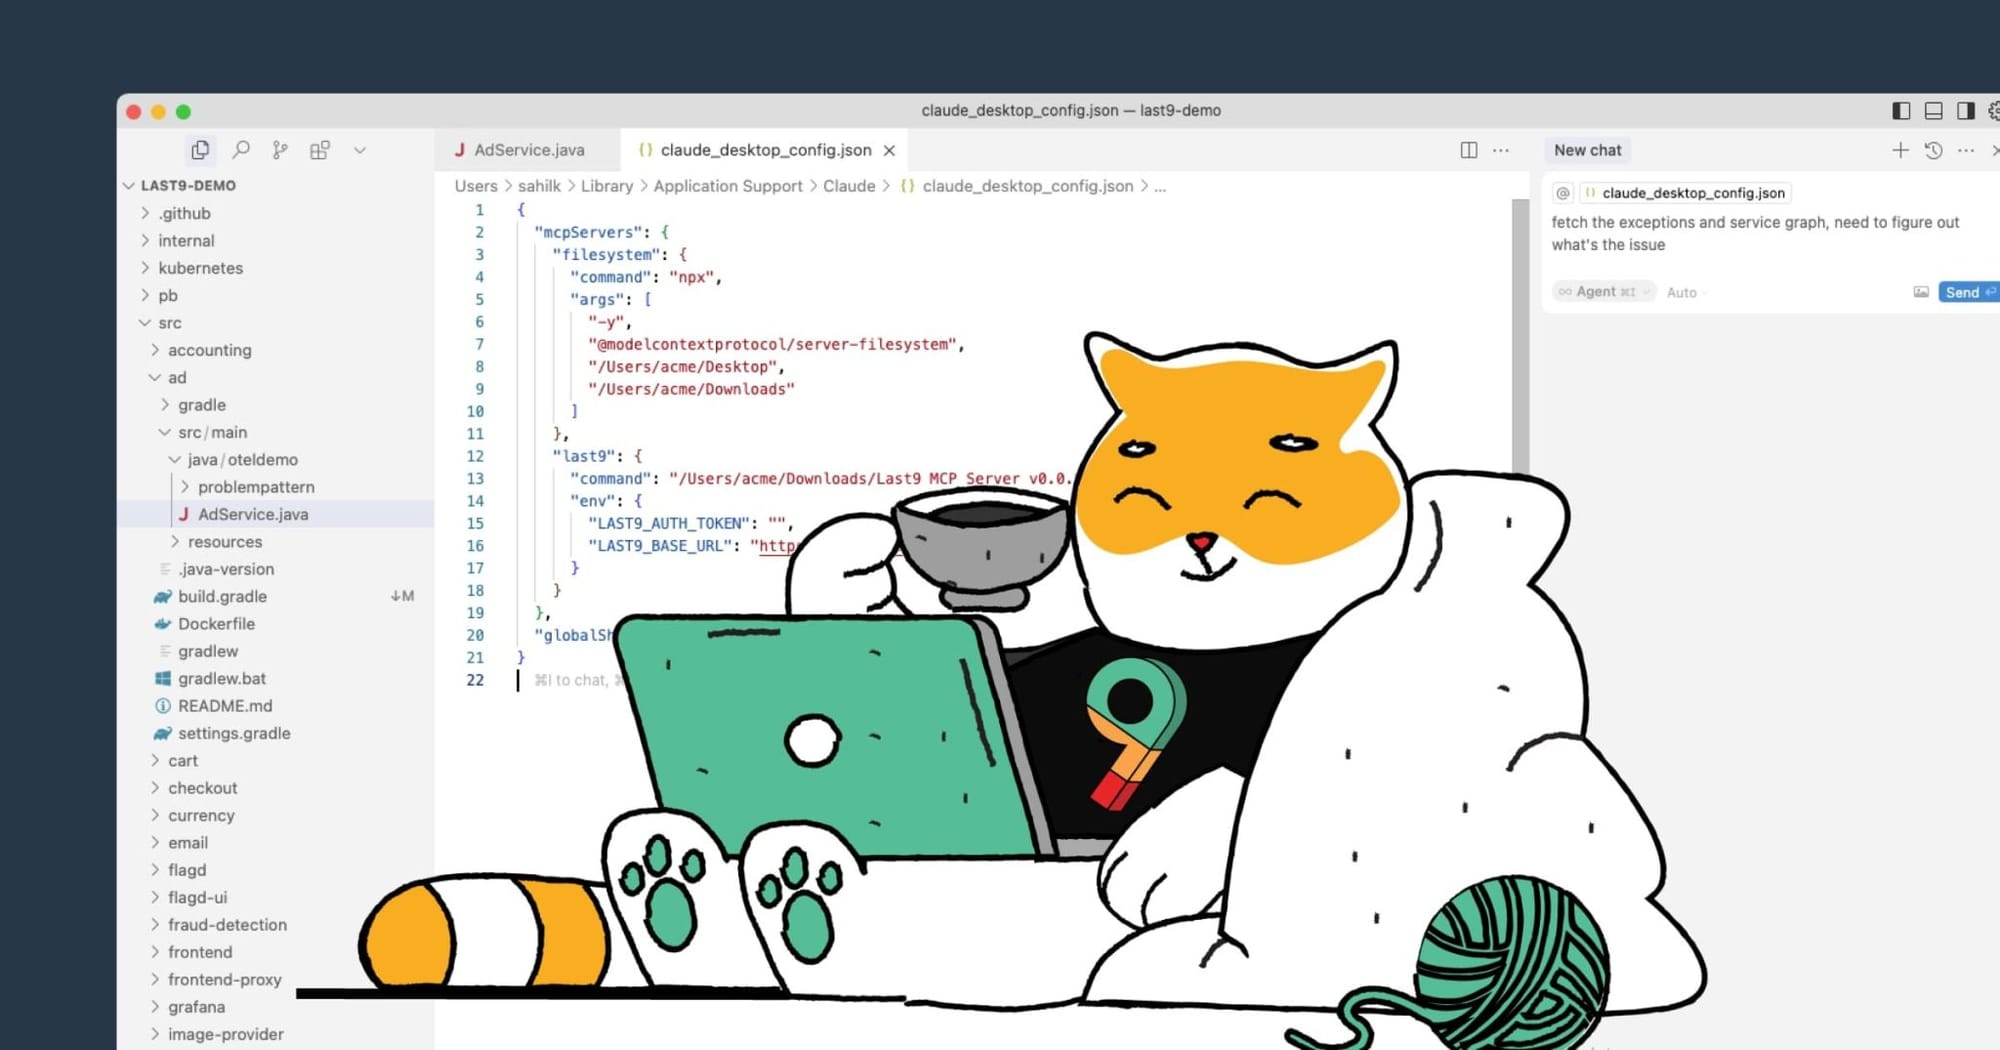
That’s where Last9 comes in. We're a managed observability platform built for scale and cost control—without dropping context. From supporting high-cardinality workloads to monitoring 11 of the 20 biggest live-streaming events ever, Last9 has helped teams like Probo, CleverTap, and Replit stay on top of their systems. With native OpenTelemetry and Prometheus support, you get unified metrics, logs, and traces—all in one place.
For more on how to set up React Logging with Last9, don't forget to check our docs.
Performance Profiling and Metrics Collection for React Component Optimization
Understanding performance bottlenecks is essential for React applications. Let's set up comprehensive performance monitoring:
import { Profiler } from 'react';
import Logger from '../utils/logger';

function ProfiledApp() {
  const handleProfilerData = (
    id, // the "id" prop of the Profiler tree
    phase, // "mount" or "update"
    actualDuration, // time spent rendering
    baseDuration, // estimated time for a full render
    startTime, // when React began rendering
    commitTime // when React committed the updates
  ) => {
    Logger.debug('Component performance', {
      id,
      phase,
      actualDuration,
      baseDuration,
      startTime,
      commitTime,
    });
  };

  return (
    <Profiler id="App" onRender={handleProfilerData}>
      <App />
    </Profiler>
  );
}
This gives you valuable timing information for each component render. To make this data more actionable, consider logging performance metrics to your observability platform:
// Hook for tracking slow renders
function usePerformanceTracking(componentName, threshold = 16) {
  // We use useRef to avoid re-renders caused by the hook itself
  const renderTime = useRef(0);
  const startTime = useRef(0);

  useEffect(() => {
    // Measure render completion time
    const endTime = performance.now();
    renderTime.current = endTime - startTime.current;

    // Log slow renders that exceed our threshold (1 frame at 60fps ≈ 16.6ms)
    if (renderTime.current > threshold) {
      Logger.warn('Slow component render detected', {
        component: componentName,
        renderTime: renderTime.current.toFixed(2),
        threshold
      });
    }

    // Setup measurements for the next render
    return () => {
      startTime.current = performance.now();
    };
  });

  // Initialize on first render
  useLayoutEffect(() => {
    startTime.current = performance.now();
  }, []);

  return renderTime.current;
}

// Usage example
function ExpensiveComponent(props) {
  const renderTime = usePerformanceTracking('ExpensiveComponent');

  // Your component code...

  // Optionally display render time in development
  return (
    <div>
      {/* Component content */}
      {process.env.NODE_ENV !== 'production' && (
        <small className="render-time">
          Rendered in {renderTime.toFixed(2)}ms
        </small>
      )}
    </div>
  );
}
This approach helps you identify slow components during development and real-world usage.
For a more comprehensive view, track key performance metrics like:
import Logger from '../utils/logger';

// Call this after your app has loaded
function logPagePerformanceMetrics() {
  // Wait for browser to calculate performance metrics
  setTimeout(() => {
    // Get performance timeline
    const perfData = window.performance.timing;

    // Calculate key metrics
    const metrics = {
      // Network & server metrics
      dnsLookup: perfData.domainLookupEnd - perfData.domainLookupStart,
      tcpConnection: perfData.connectEnd - perfData.connectStart,
      serverResponse: perfData.responseEnd - perfData.requestStart,

      // Page rendering metrics
      domLoading: perfData.domComplete - perfData.domLoading,
      domInteractive: perfData.domInteractive - perfData.navigationStart,
      domContentLoaded: perfData.domContentLoadedEventEnd - perfData.navigationStart,
      pageFullyLoaded: perfData.loadEventEnd - perfData.navigationStart,

      // First paint (approximate if Paint Timing API not available)
      firstPaint: window.performance.getEntriesByType('paint')[0]?.startTime ||
                 (perfData.domContentLoadedEventStart - perfData.navigationStart)
    };

    Logger.info('Page performance metrics', metrics);

  }, 0);
}
By collecting this data systematically, you can track performance trends over time and catch regressions before they impact users significantly.
Here's a comparison of some popular React logging and monitoring tools:
| Tool | Best For | React-Specific Features | Setup Complexity |
|---|---|---|---|
| Last9 | Complete observability, high-cardinality data | Connects frontend & backend telemetry | Low |
| React DevTools | Local development | Component inspection, profiling | None (browser extension) |
| Winston | Flexible logging pipelines | None (generic JS logger) | Medium |
| debug | Lightweight namespaced logging | None (generic JS logger) | Low |
| Sentry | Error tracking and performance | React error boundary integration | Medium |
Capture and Log React Router Navigation Events for User Journey Analysis
Single-page apps can be hard to debug because traditional page views don't exist. Log route changes to understand user journeys:
import { useNavigate, useLocation } from 'react-router-dom';
import { useEffect } from 'react';
import Logger from '../utils/logger';

function RouteLogger() {
  const location = useLocation();

  useEffect(() => {
    Logger.info('Route changed', {
      pathname: location.pathname,
      search: location.search,
      timestamp: new Date().toISOString(),
    });
  }, [location]);

  return null;
}

// Add this component to your Router
function App() {
  return (
    <Router>
      <RouteLogger />
      {/* Rest of your app */}
    </Router>
  );
}
This creates breadcrumbs that help you understand what users were doing before they encountered a problem.
Implement User Interaction Tracking for Behavior Analysis
Understanding how users interact with your application can provide valuable insights for debugging and UX improvements. Here's how to set up user interaction logging:
import { useCallback } from 'react';
import Logger from '../utils/logger';

export function useUserInteractionTracking() {
  const trackClick = useCallback((elementId, elementName, additionalData = {}) => {
    Logger.info('User clicked element', {
      elementId,
      elementName,
      timestamp: new Date().toISOString(),
      ...additionalData
    });
  }, []);

  const trackFormSubmit = useCallback((formId, formData, success = true) => {
    // Make sure to sanitize sensitive data before logging
    const safeFormData = sanitizeFormData(formData);

    Logger.info('Form submission', {
      formId,
      success,
      fieldsCompleted: Object.keys(safeFormData).length,
      timestamp: new Date().toISOString()
    });
  }, []);

  const trackNavigation = useCallback((source, destination) => {
    Logger.info('User navigation', {
      source,
      destination,
      timestamp: new Date().toISOString()
    });
  }, []);

  return {
    trackClick,
    trackFormSubmit,
    trackNavigation
  };
}

// Usage in a component
function LoginForm() {
  const { trackClick, trackFormSubmit } = useUserInteractionTracking();

  const handleSubmit = (event) => {
    event.preventDefault();
    const formData = new FormData(event.target);

    // Track the submission
    trackFormSubmit('login-form', Object.fromEntries(formData));

    // Process login...
  };

  return (
    <form id="login-form" onSubmit={handleSubmit}>
      {/* Form fields */}
      <button
        type="submit"
        onClick={() => trackClick('login-button', 'Login Button')}
      >
        Login
      </button>
    </form>
  );
}

// Helper to remove sensitive data
function sanitizeFormData(data) {
  const sensitiveFields = ['password', 'token', 'credit_card', 'ssn'];
  const safeData = {...data};

  sensitiveFields.forEach(field => {
    if (safeData[field]) {
      safeData[field] = '[REDACTED]';
    }
  });

  return safeData;
}
This approach gives you structured data about how users interact with your application, which becomes invaluable when:
- Debugging reports of strange behavior
- Understanding user flow through your application
- Identifying UI components that may confuse users
- Correlating user actions with errors that occur later
Key Takeaways
Setting up proper logging in your React applications doesn't just make debugging easier – it changes how you approach problems entirely. Instead of guessing what went wrong, you'll have a timeline of events that tells the story.
For small projects, custom logging with the console API might be enough. As you scale, consider Last9, which can handle the complexity of modern applications by bringing together metrics, logs, and traces for a complete picture.
FAQs
How much logging is too much logging?
There's a sweet spot between too little and too much. Start by logging:
- Errors and exceptions (always)
- Key user interactions
- Major state changes
- API requests and responses (possibly sanitized)
- Component lifecycle events for problematic components
Too much logging creates noise and performance issues. Too little leaves you in the dark when problems occur.
Will logging affect my React app's performance?
It can, especially if you log too frequently or log large objects. To minimize impact:
- Use log levels and only enable verbose logging when needed
- Don't log entire state objects or props without filtering
- Consider disabling certain log types in production
- Use sampling for high-volume events
How do I debug React performance issues using logs?
Performance logging requires a different approach:
- Use React's Profiler component to measure render times
- Log when components render and why (which props/state changed)
- Track API call durations
- Monitor memory usage patterns if possible
How should I handle sensitive data in logs?
Never log sensitive user data. Create a sanitizer function:
function sanitizeData(data) {
  const sensitiveFields = ['password', 'token', 'credit_card', 'ssn'];

  return Object.entries(data).reduce((safe, [key, value]) => {
    if (sensitiveFields.includes(key.toLowerCase())) {
      safe[key] = '[REDACTED]';
    } else {
      safe[key] = value;
    }
    return safe;
  }, {});
}

// Usage
Logger.info('User updated profile', sanitizeData(userData));
Can I use the same logging solution for React Native?
Most JavaScript logging libraries work with React Native, but there are differences:
- Console logs appear in different places (Metro bundler, Logcat, Xcode console)
- You'll want to send logs to a remote service more aggressively since you can't easily access device logs.
- Device performance and network constraints may limit verbose logging.